

Create Simultaneous Allowlists with Signature Drop and Next.js
Learn how to create simultaneous allowlists where different users can buy NFTs from the drop at a different price based on which allowlist they are in

16 yo full stack web3 developer building cool shit and teaching others
What is thirdweb?
thirdweb is a platform that lets you deploy smart contracts without having to know Solidity, you can do it by using TypeScript, Python or Go or even without writing any code.
Introduction
In this guide, we are going to create a Signature drop where users
will be able to connect their wallets to the website and claim an NFT from the drop. Once the user clicks Mint, we will make an
API request that checks if the user is in one of our allowlists.
Based on the check, we will generate a signature with a different price for each allowlist! Let's get started.
Setup
I am going to use the Next typescript starter template for this guide.
If you are following along with the guide, you can create a project with the Next TypeScript template using the thirdweb CLI:
npx thirdweb create --next --ts
If you already have a Next.js app you can simply follow these steps to get started:
- Install
@thirdweb-dev/reactand@thirdweb-dev/sdkandethers - Add MetaMask authentication to the site. You can follow this guide to do this.
By default the network in _app.tsx is Mainnet, we need to change it to Mumbai
import type { AppProps } from "next/app";
import { ChainId, ThirdwebProvider } from "@thirdweb-dev/react";

// This is the chainId your dApp will work on.
const activeChainId = ChainId.Mumbai;

function MyApp({ Component, pageProps }: AppProps) {
  return (
    <ThirdwebProvider desiredChainId={activeChainId}>
      <Component {...pageProps} />
    </ThirdwebProvider>
  );
}

export default MyApp;
Creating a Signature Drop and batch Uploading NFTs
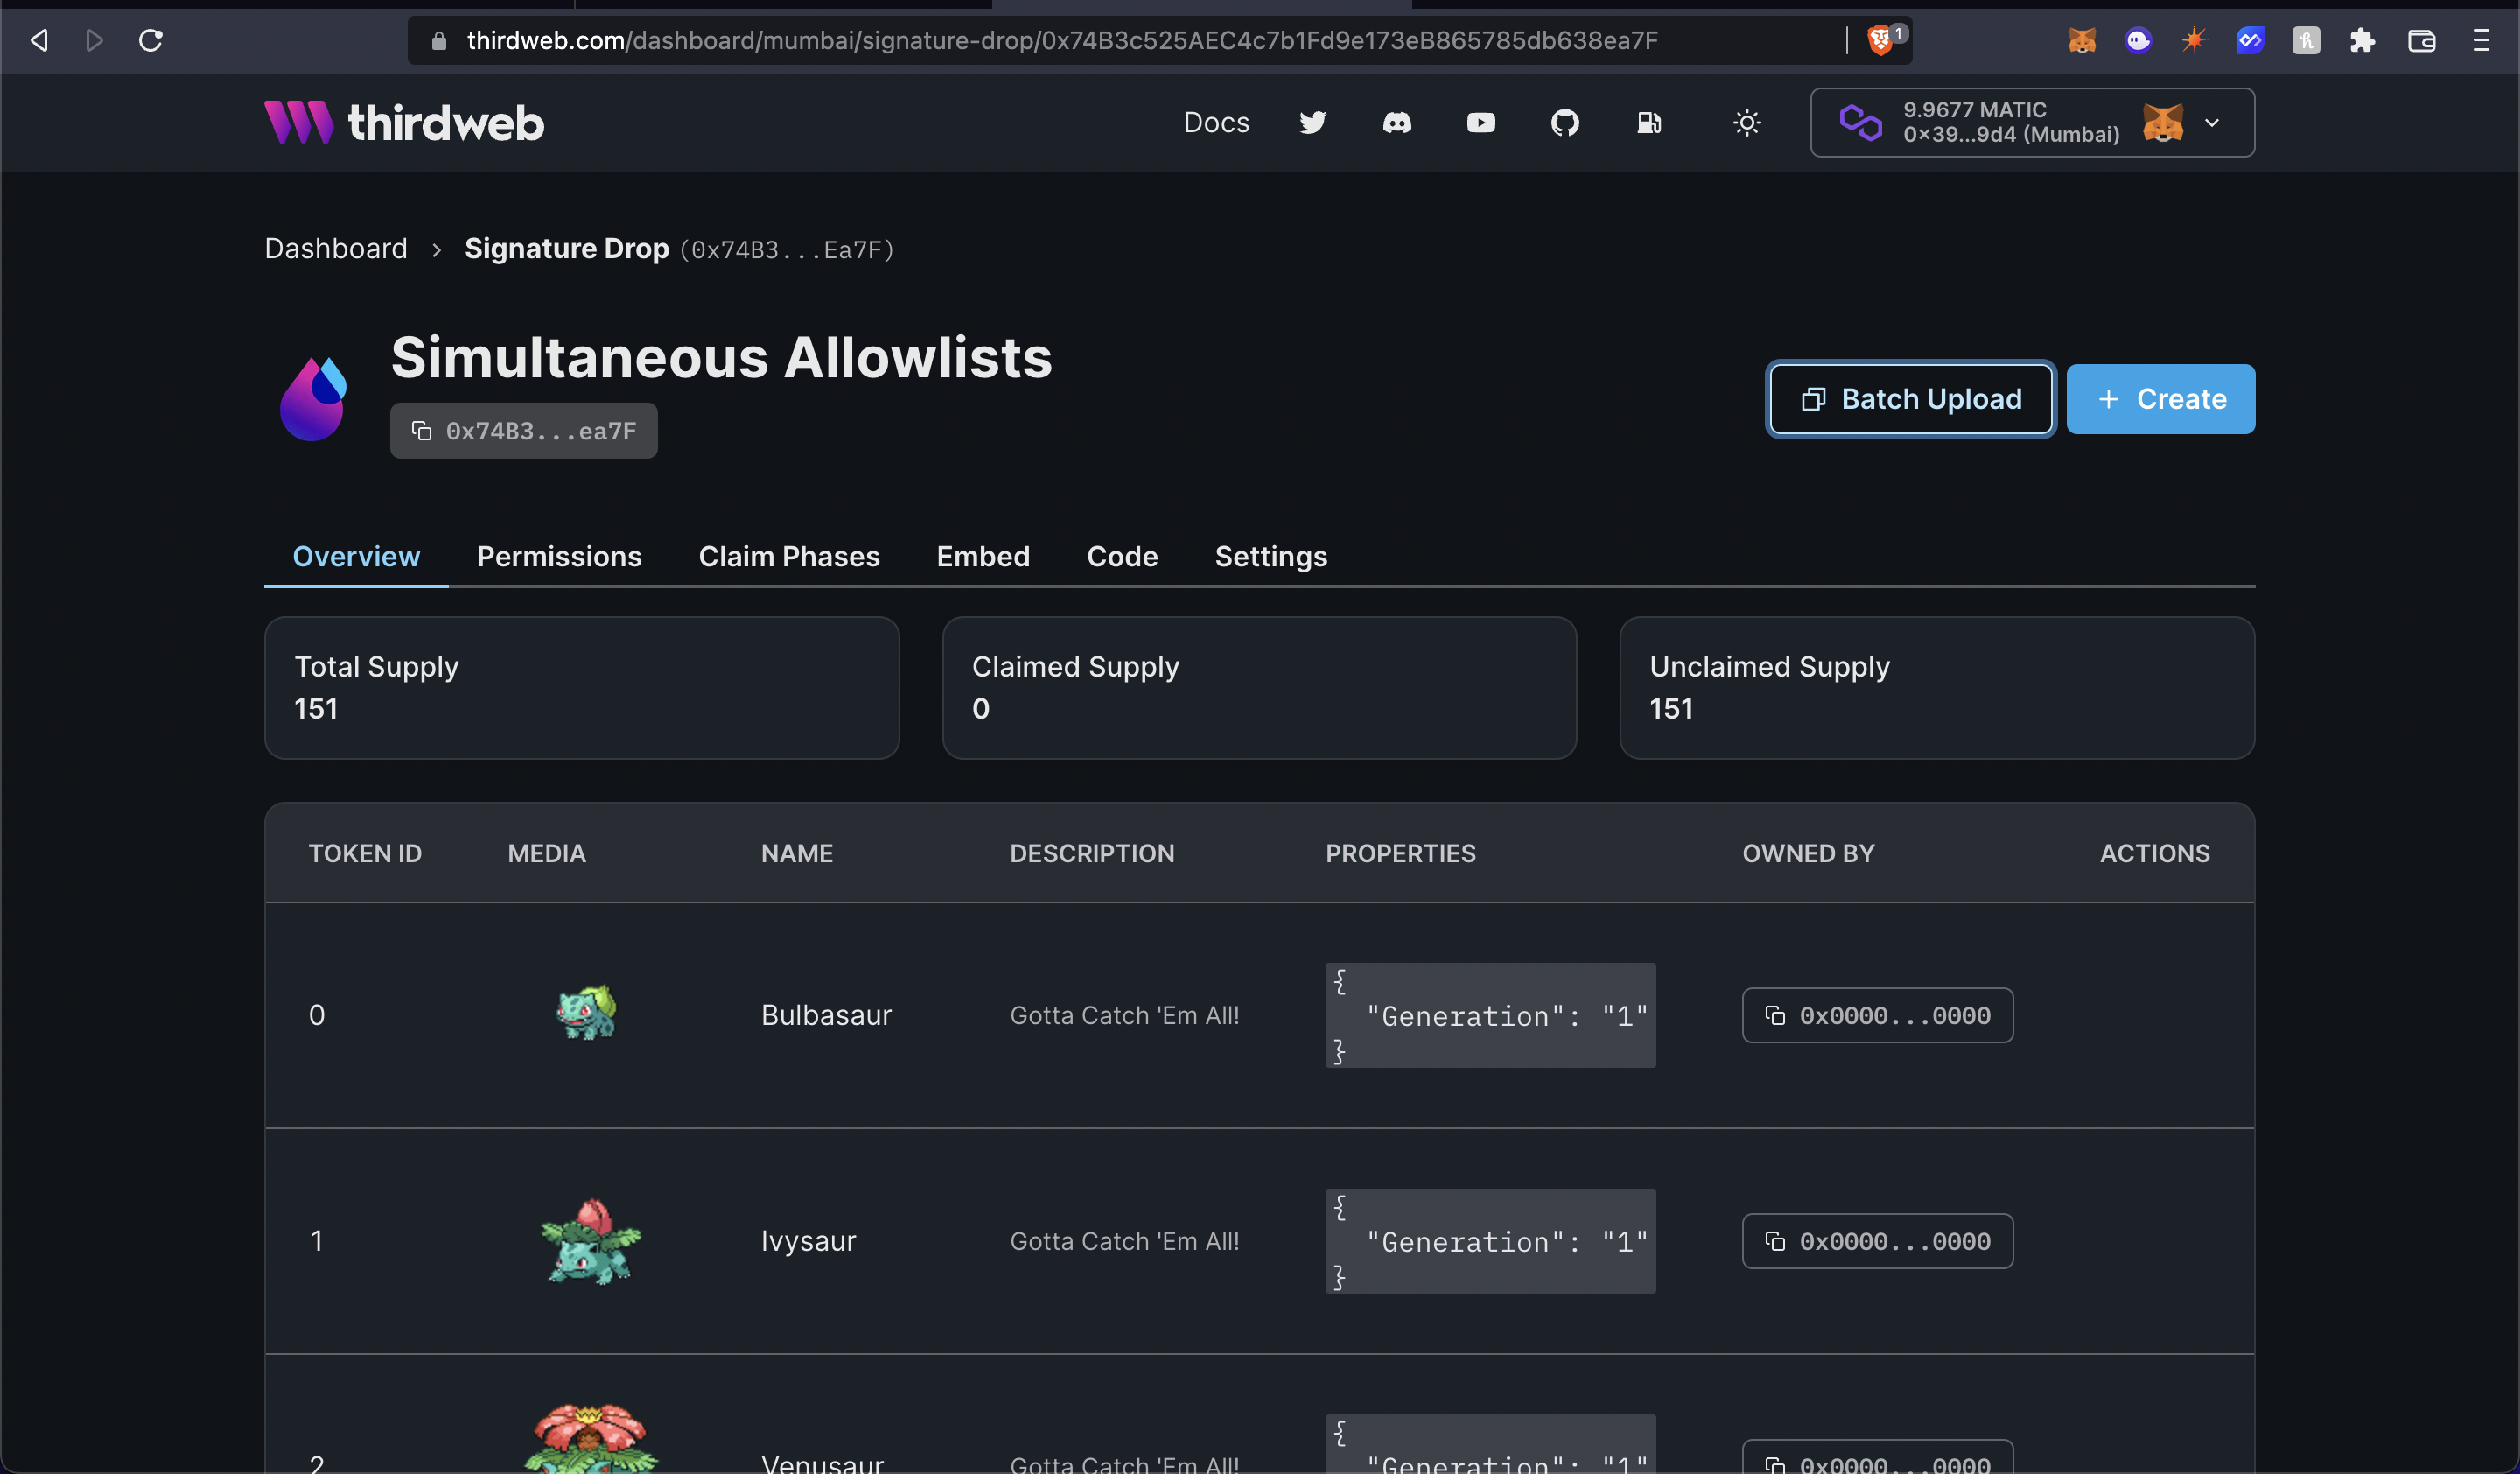
We also need to create a Signature Drop and upload a bunch of NFTs that users can claim. So, go to the thirdweb dashboard and create a signature drop!
Fill out the details and deploy the contract!

Now, let's batch upload some NFTs for the users to mint! I am going to use the Pokemon batch upload example.
Click on batch upload and upload the images and the CSV/JSON file.
Once they are uploaded you will be able to see the NFTs! To learn more about batch upload check out this guide.
Making the website
Creating an API for generating a signature
We are going to use the signature minting on our backend to check the price at which this user will mint the NFT!
Create a new folder api in the pages folder and generate-mint-sig.ts inside it.
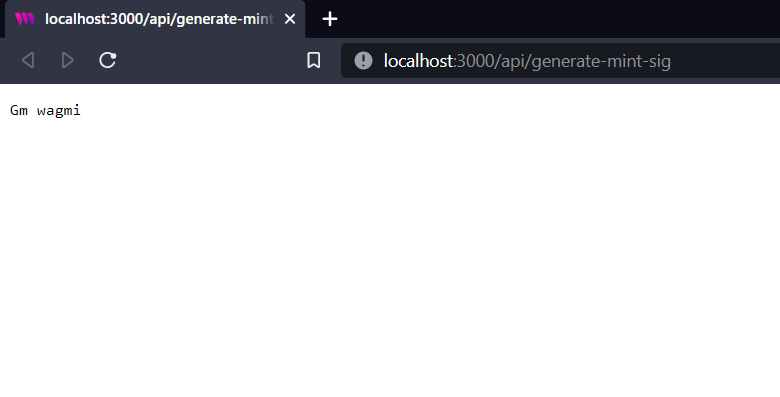
We will now build a basic API that will output "gm wagmi"
import type { NextApiRequest, NextApiResponse } from "next";

const generateMintSignature = async (
  req: NextApiRequest,
  res: NextApiResponse,
) => {
  res.send("gm wagmi");
};

export default generateMintSignature;
This creates a basic API for us, if you now go to the api/generate-mint-sig
endpoint, you will get a response of Gm wagmi.
Let's now initialize the thirdweb SDK!
const sdk = ThirdwebSDK.fromPrivateKey(
  process.env.PRIVATE_KEY as string,
  "mumbai",
);
As you can see, we are using an environment variable to initialize the sdk.
The variable is called PRIVATE_KEY which is the private key of the wallet.
Create a new file .env.local and add your private key.
PRIVATE_KEY=<private_key>
How to export your private key
Learn how to export your private key from your wallet.
To do this, create a file called .env.local at the root of your project, and add the following to it:
PRIVATE_KEY=your-private-key-here
Ensure you store and access your private key securely.
- Never commit any file that may contain your private key to your source control.
We also need to import the ThirdwebSDK:
import { ThirdwebSDK } from "@thirdweb-dev/sdk";
Determining the price of the NFT
I am creating 2 hardcoded arrays in this example, but you can get them from a JSON file, from a database, or anything you like!
So add these 2 arrays and a function to determine the price:
const teamMembers = ["0x39Ab29fAfb5ad19e96CFB1E1c492083492DB89d4"];

const allowList = ["0x6bF08768995E7430184a48e96940B83C15c1653f"];

const determinePrice = (address: string) => {
  if (teamMembers.includes(address)) {
    return 0;
  }
  if (allowList.includes(address)) {
    return 1;
  }
  return 2;
};
So if the person is in the allowlist they will mint the NFT for 1 MATIC, if they are a team member they will mint the NFT for 0 MATIC, and if they are not in an allowlist, they will mint the NFT for 2 MATIC.
Generating the signature
Finally, we are going to access the Signature Drop using the sdk and generate a signature from it:
const { address } = req.body;

const drop = sdk.getSignatureDrop("0xcB31341eE7FaC6917e8e9D71441747e5FAdA466F");
try {
  const signedPayload = await drop.signature.generate({
    to: address,
    price: determinePrice(address),
  });

  return res.status(200).json({
    signedPayload: signedPayload,
  });
} catch (error) {
  console.log(error);
  return res.status(500).json({
    error,
  });
}
Calling the API from the frontend
In index.tsx update the address ternary and add the Mint button:
<div>
  {address ? (
    <button onClick={mint}>Mint</button>
  ) : (
    <button onClick={connectWithMetamask}>Connect with Metamask</button>
  )}
</div>
Now we will create the mint function that makes an api call to the backend and mints the NFT:
const drop = useSignatureDrop("0xcB31341eE7FaC6917e8e9D71441747e5FAdA466F");

const mint = async () => {
  const signedPayloadReq = await fetch("/api/generate-mint-sig", {
    method: "POST",
    body: JSON.stringify({ address }),
  });

  const signedPayload = await signedPayloadReq.json();

  try {
    const nft = await drop?.signature.mint(signedPayload.signedPayload);
    return nft;
  } catch (err) {
    console.error(err);
    return null;
  }
};
If we now try minting the NFT, we will be able to mint the NFT successfully at different prices! 🎉
Conclusion
This was a lot, now pat yourself on the back and share your amazing apps with us! If you want to have a look at the code, check out the GitHub Repository.


